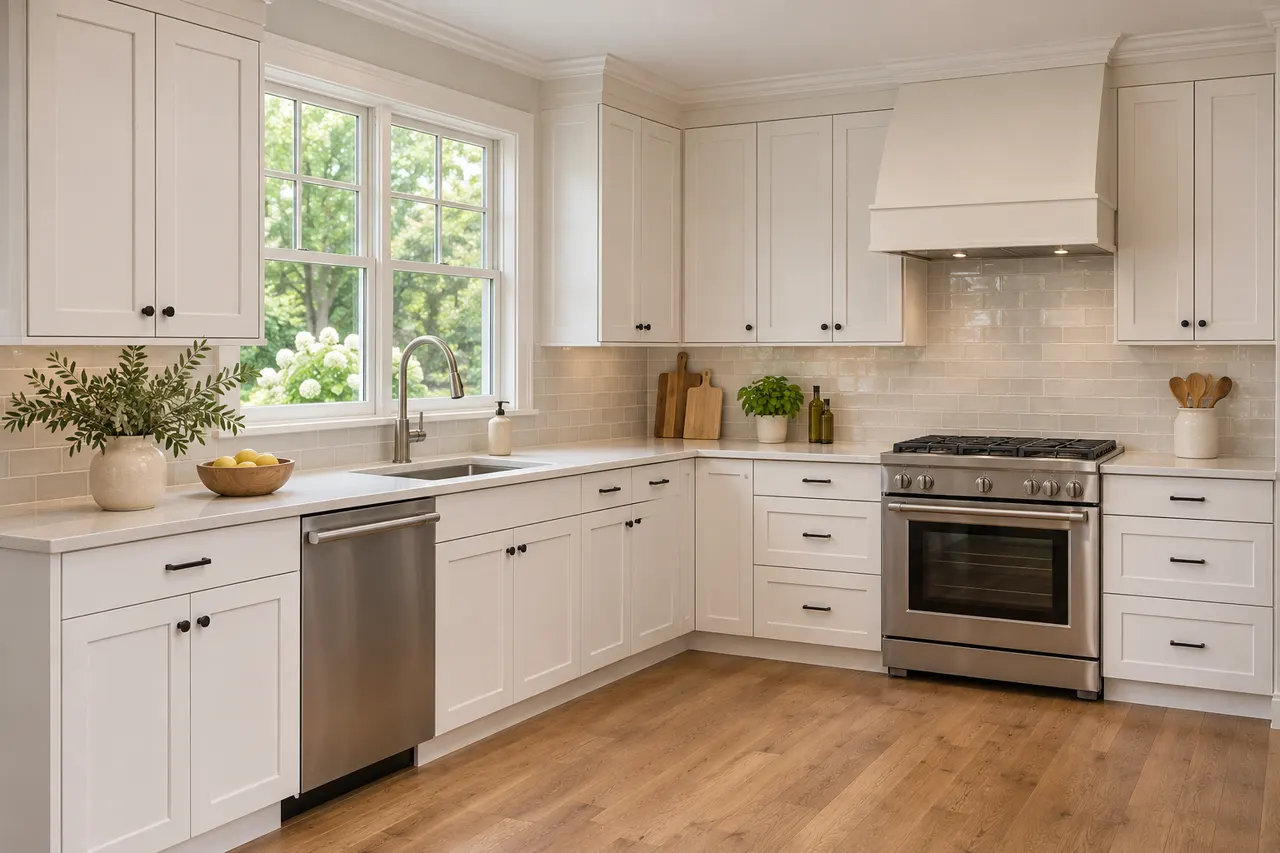
Compare the Shaker profile across an island and perimeter
The same profile can serve different front sizes on the island and wall units. Review both areas as one room.
A kitchen island can use the same Shaker profile while differing in color or storage arrangement. Compare it with the perimeter sample and the planned worktop. The order should name the island panels and fronts individually, especially when the visible side faces a living or dining area.
- Island: Show its working and seating elevations.
- Perimeter: Review the adjoining cabinet pattern.
- Palette: Compare the proposed finishes together.
A matching finish connects the two areas, while a separate island finish emphasizes their different roles. The door specification still needs to be clear for each. Identify the profile, finish and visible panels for both cabinet groups.
Separate the finish name from the door construction
A white or oak appearance does not identify every part of a Shaker door. Ask which material, panel and finishing process are proposed.
Consider the drawer contents before asking every visible front to match. A stack for utensils and a cabinet for a large pan need different interiors. The elevation can still look coordinated when the underlying storage follows the equipment instead of a repeated decorative pattern.
- Construction: Request the product description.
- Surface: Compare the actual sample.
- Edges: Review exposed details.
Similar-looking fronts can use different products. The sample explains appearance, while the specification establishes what is being supplied. Record the chosen door product and finish together.
Coordinate Shaker fronts with the drawer interiors
The visible drawer pattern should follow the storage arrangement underneath. Decide what the drawers hold before repeating their heights across a cabinet run.
Treat a painted finish as a specified product rather than a color name alone. Ask how the proposed front is constructed and what care information accompanies it. Keep the approved sample with the order so the door material, surface and appearance remain linked throughout the comparison.
- Contents: Group the intended drawer items.
- Fronts: Review the visible divisions.
- Interiors: Confirm the proposed drawer products.
A regular front pattern creates order, while different internal needs may call for another division. Review both before choosing symmetry alone. Have the front elevation and drawer specification describe the same arrangement.
Use the front schedule to prevent assumptions
A kitchen may contain several door and drawer sizes behind one finish name. Check that the order describes each front group.
Ask the proposal to distinguish complete cabinets, replacement doors, exposed panels and fitting. Those packages can all be described loosely as a Shaker kitchen. Naming each part helps you compare the work you want without assuming that every offer covers the same replacement boundary.
- Schedule: Review the front quantities.
- Sizes: Match them to the cabinet plan.
- Options: Identify decorative additions separately.
A single overall rendering helps explain the kitchen but may not establish every front product. The schedule should make the supplied package reviewable. Reconcile the door and drawer list with the approved cabinet elevation.
Treat glass-front sections as a storage choice
A glass-front cabinet makes its contents visible. Decide what will be displayed and what belongs behind a closed Shaker door.
If the current cabinet boxes will remain, their suitability needs assessment before replacement fronts are ordered. Existing hinge positions and dimensions may affect the proposal. Keep a front-only quotation separate from a complete cabinet replacement so the apparent similarity of the finished room does not hide a different scope.
- Contents: Choose the visible pieces.
- Interior: Review shelves and internal appearance.
- Access: Check how the displayed items are reached.
A display section can add interest but reduces concealed storage. Keep its size connected to the objects you actually want on view. Specify the glass-front units and their internal finishes separately.
Keep the recessed panel practical to maintain
Ask for the care information for the actual door finish. The profile and hardware create surfaces that should suit the way the kitchen is used.
Ask what happens where the cabinet run meets the ceiling or an existing trim detail. Decorative finishing changes the elevation and adds components to the order. Decide whether you want that treatment before comparing totals that might include different upper finishing arrangements.
- Product: Confirm the supplied finish.
- Care: Request its maintenance directions.
- Details: Review corners and exposed edges on a sample.
A more detailed profile and a simpler frame have different visual effects. Compare that choice with the cleaning routine you are prepared to follow. Have the product care information accompany the final door specification.