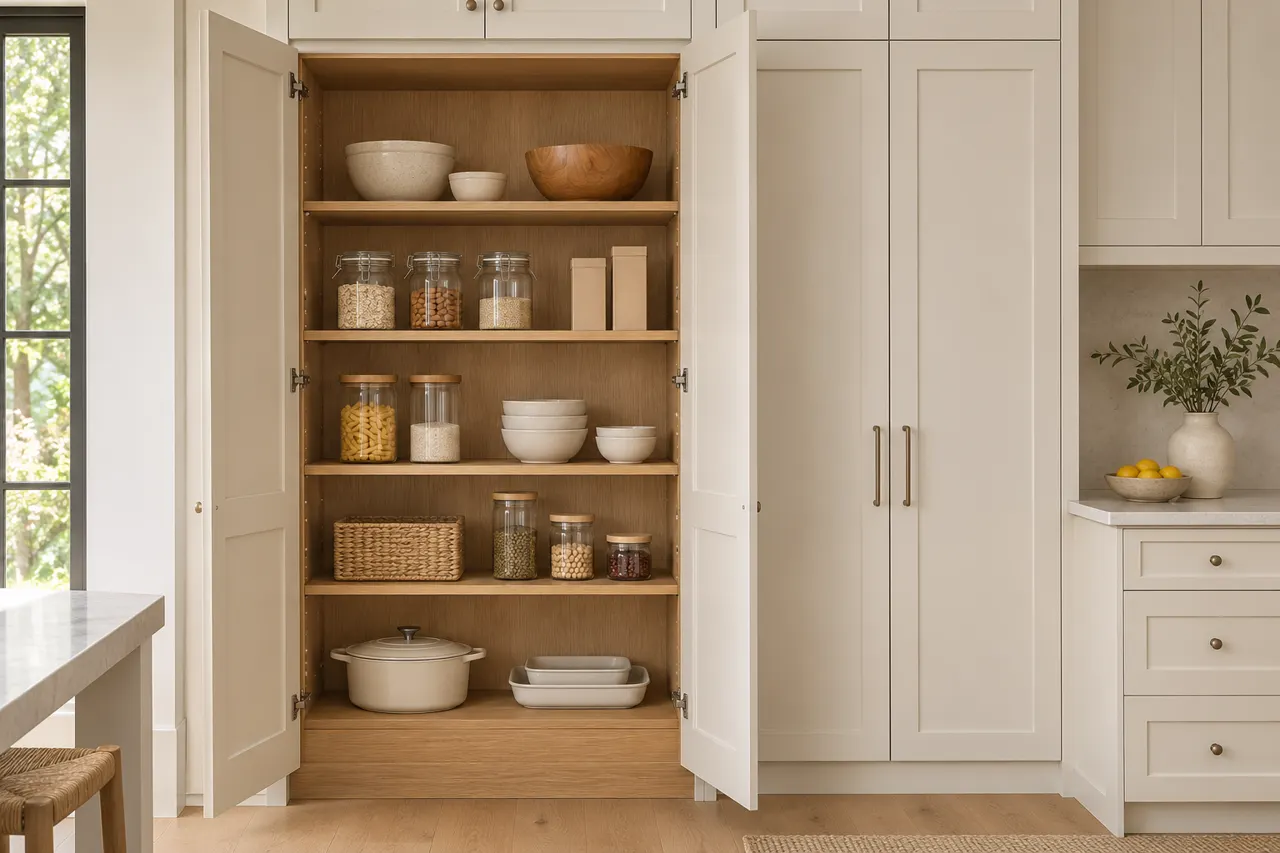
Follow the food preparation groups
A pantry can be organized around breakfast, baking or regular meal preparation. Describe those groups before allocating shelves.
Follow a familiar routine such as making breakfast or preparing a baking recipe. Identify the ingredients used together and the surface where they are measured. That sequence gives the pantry layout a more useful basis than grouping every package only by its shape or height.
- Routine: Name the preparation task.
- Ingredients: List the supplies it uses.
- Return: Discuss where opened packages go back.
Grouping by package size and grouping by use lead to different arrangements. Compare both when deciding which contents should stay together. State the food groups that the pantry layout is intended to support.
Make upper pantry storage a deliberate choice
Higher shelves can hold occasional or reserve items, but they still need a workable access plan. Identify what belongs there before extending the cabinet.
List the items intended for the upper compartments and how they are normally handled. More storage at ceiling level may be suitable for some occasional contents while being inconvenient for daily food. Compare a lower position for those regularly used items before extending the tall cabinet.
- Contents: Choose suitable upper-storage items.
- Access: Discuss how the intended user reaches them.
- Alternatives: Compare a lower position where useful.
Filling the available height adds capacity but does not guarantee convenient use. Review upper storage against the household's actual handling routine. Identify upper compartments and the contents intended for them.
Keep utility products out of an undivided food brief
Identify non-food supplies that currently occupy pantry space. They may need their own storage arrangement and product-specific handling.
List cleaning products and other non-food items separately from groceries. Follow their actual storage directions when discussing where they belong. Replacing a pantry is an opportunity to define those boundaries, rather than using extra shelving to keep every household supply in one undivided cupboard.
- Food: List the grocery contents.
- Other supplies: Identify non-food items.
- Directions: Follow the instructions for the actual household products.
A pantry label should not become a reason to mix every supply on one shelf. Give the different contents intentional positions. Distinguish food compartments from any separate utility storage in the project brief.
Choose shelf depth from the food packages
Short jars and larger containers need different visibility and removal space. Compare their dimensions before repeating one depth through a tall pantry unit.
Try the shelf arrangement with a short jar, a cereal container and the largest reserve package you regularly buy. These objects reveal different visibility problems. A deeper cabinet can hold more volume while leaving everyday ingredients harder to identify, especially when smaller packages migrate behind taller ones.
- Packages: Measure representative containers.
- Visibility: Check which items disappear at the back.
- Access: Review how the contents are removed.
Deeper shelving adds volume but may hide smaller packages. A mix of depths can be worth discussing where the cabinet construction allows it. Identify the proposed pantry depths and intended food groups.
Define a pantry replacement within the existing kitchen
A pantry update may retain the surrounding cabinetry and surfaces. Record those boundaries before agreeing the new tall-storage arrangement.
Photograph the pantry where it meets retained cabinets, flooring and any adjacent worktop. A single-unit replacement may need finishing decisions that a new empty-room layout does not. Ask which removal, matching and fitting tasks are included before comparing the cabinet total with another proposal.
- Retained units: Show what stays.
- Removal: Identify the pantry parts to replace.
- Finishing: Discuss the visible junctions.
A replacement inside an existing run differs from a new freestanding cabinet wall. Compare the fitting and finishing work for the actual setting. List removal, new pantry units and surrounding finishing responsibilities separately.
Distinguish appliance storage from appliance operation
A pantry compartment may hold equipment that is carried to a worktop. Operating equipment inside a cabinet is a separate question for the actual product requirements.
Include handles, attachments and loose parts when describing a stored mixer or similar appliance. Show where it will be placed after removal. Keeping equipment behind a door and operating it inside that enclosure are different proposals; the equipment's actual instructions and installation requirements need separate consideration.
- Model: Share the equipment information.
- Movement: Show how it is removed.
- Connections: Identify required access.
Concealed storage can clear a counter, but its opening must suit the complete appliance. Appearance does not establish suitability for operating it in place. Identify the stored appliances and the intended use of each compartment.